Lets start with the most basic of testing, – Unit functional Test of a REST based JSON service. Unit tests are often done by developers as and while they are developing the service, although there are many QA groups I have met that still do unit testing only. Most of this is available in the free Personal Edition of SOAPSonar. A REST/JSON API does not offer the same WSDL richness and structure that is offered by SOAP. Its lighter weight though better suited to mobile and certain other environments. Our application is mashup, with one component needing to display current exchange rates against the Canadian Dollar. For this example, I am going to use a simple exchange rate service http://rate-exchange.appspot.com/currency
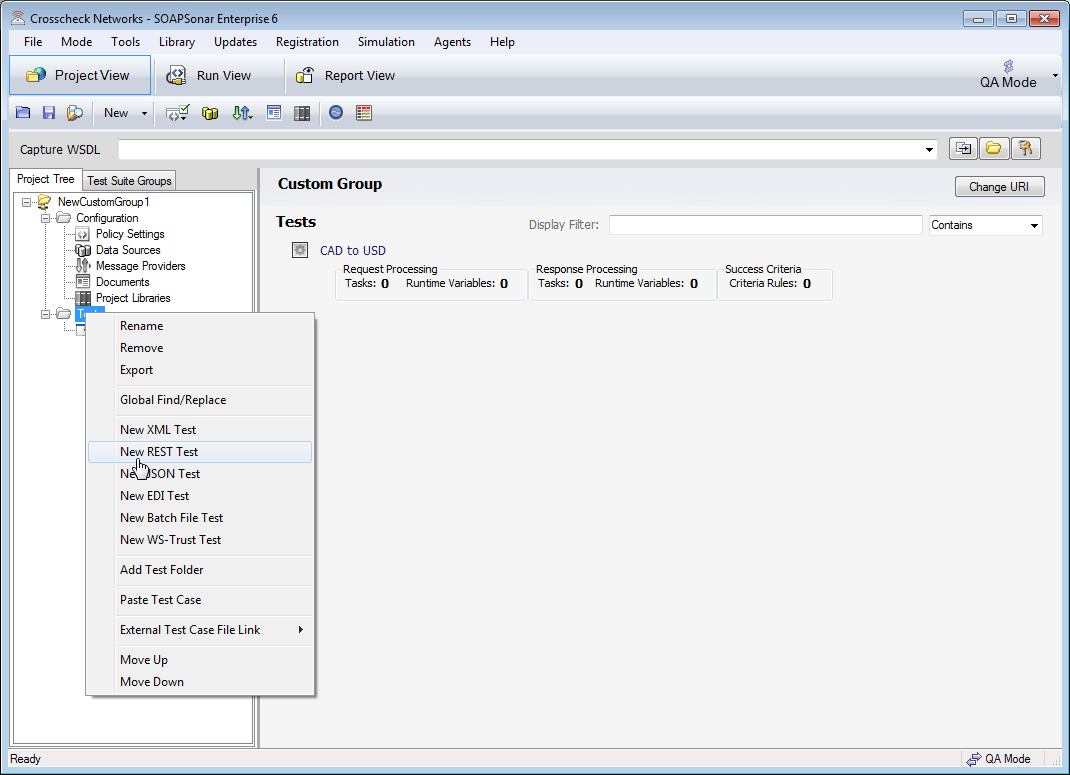
1. Launch SOAPSonar with administrator rights. Unlike SOAP, we cannot capture the WSDL. Instead, select File, New, Test Group. The right-click on tests and add a New REST Test. (JSON will work as well). Right-click again and Rename New Test_1 to CAD to USD and name you test group.
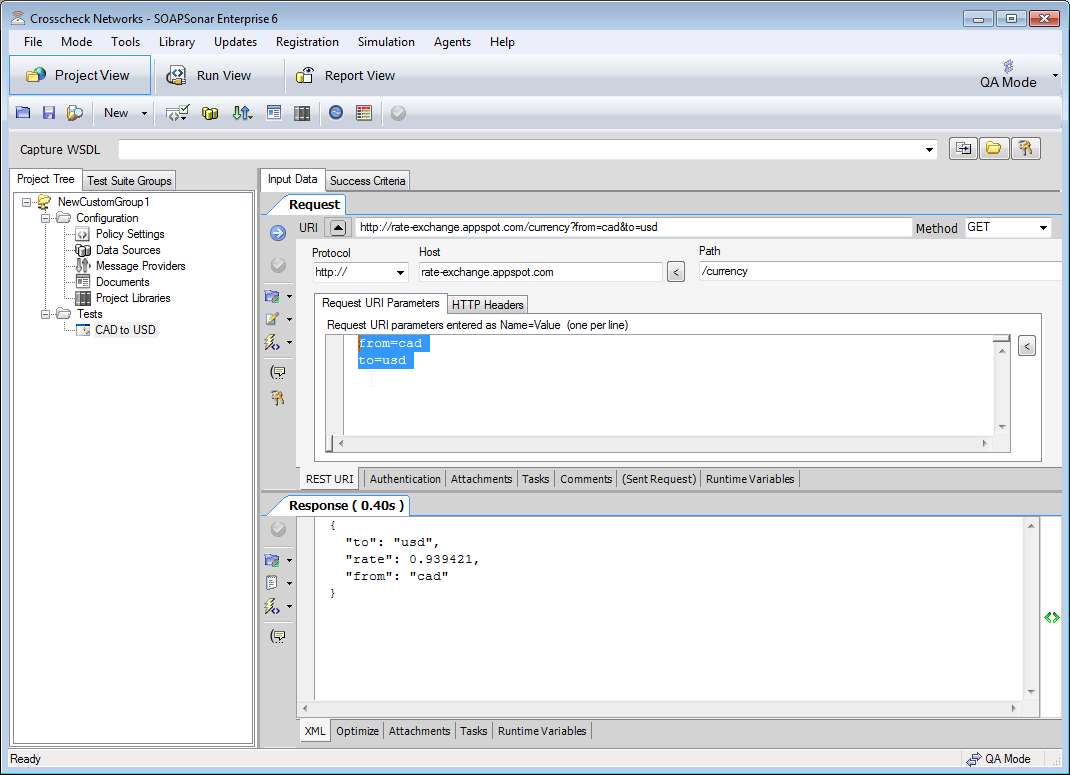
2. In the URI in the Request tab enter http://rate-exchange.appspot.com/currency?from=cad&to=usd (How do you know the string, that’s in the manual for the API). Under method, make sure it is set to GET. Select the round green checkmark – Commit Test Settings and then the round blue Arrow – Send Current Request to Server. Notice SOAPSonar breaks out the protocol, Host, Path and URI parameters for you? Did you get a response? Does it look about right? You have just run your first unit test.
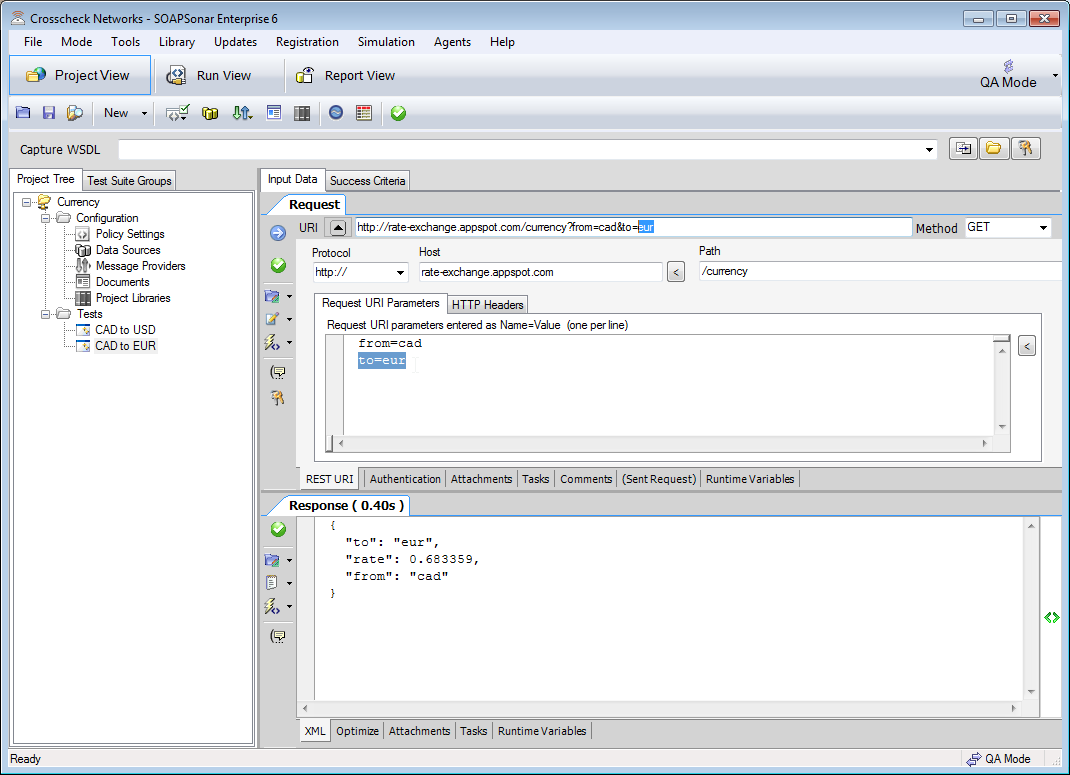
3. Now we want to add a few more units to the test. Right-click on CAD to USD and Clone. Right-click on CAD to USD_1 and Rename it to CAD to EUR. The select CAD to EUR and change the to=usd to to=eur in order to change your get request. Select the round green checkmark – Commit Test Settings and then the round blue Arrow – Send Current Request to Server. Notice the URI changes to include your new eur get request?
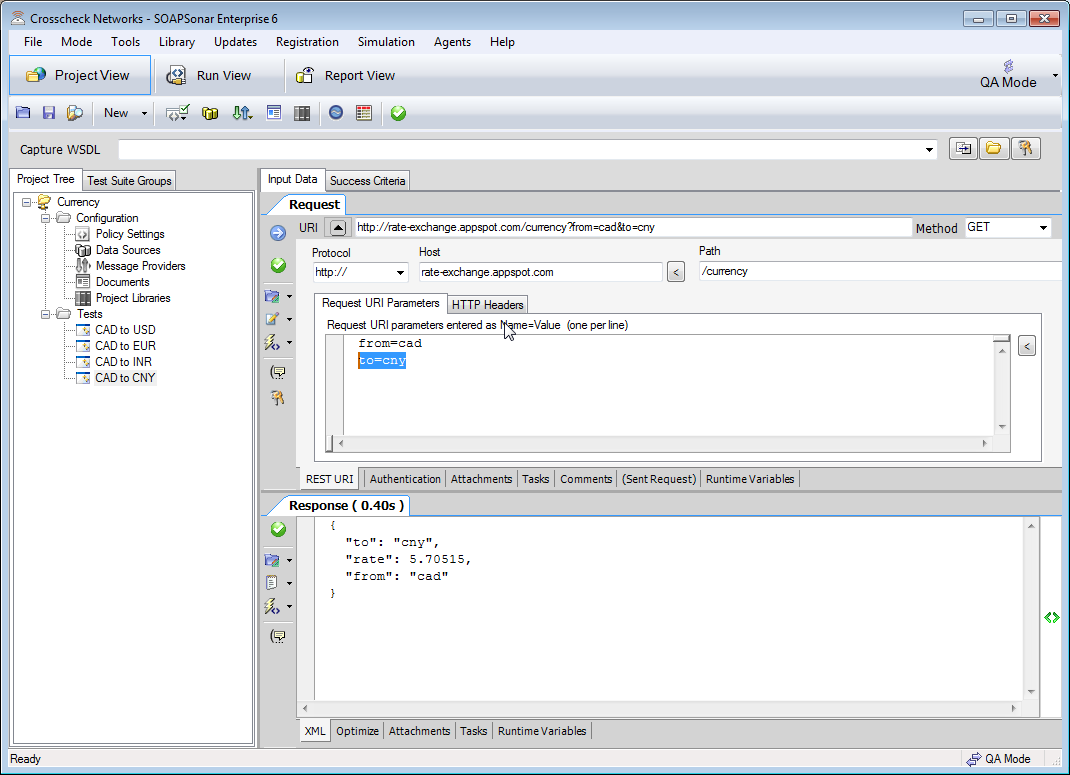
4. Our Test case calls for 2 additional currencies. So follow steps 3 to clone and create 2 additional tests for currency INR and CNY. In each case chance the to=INR and to =CNY and Select the round green checkmark – Commit Test Settings and then the round blue Arrow – Send Current Request to Server.
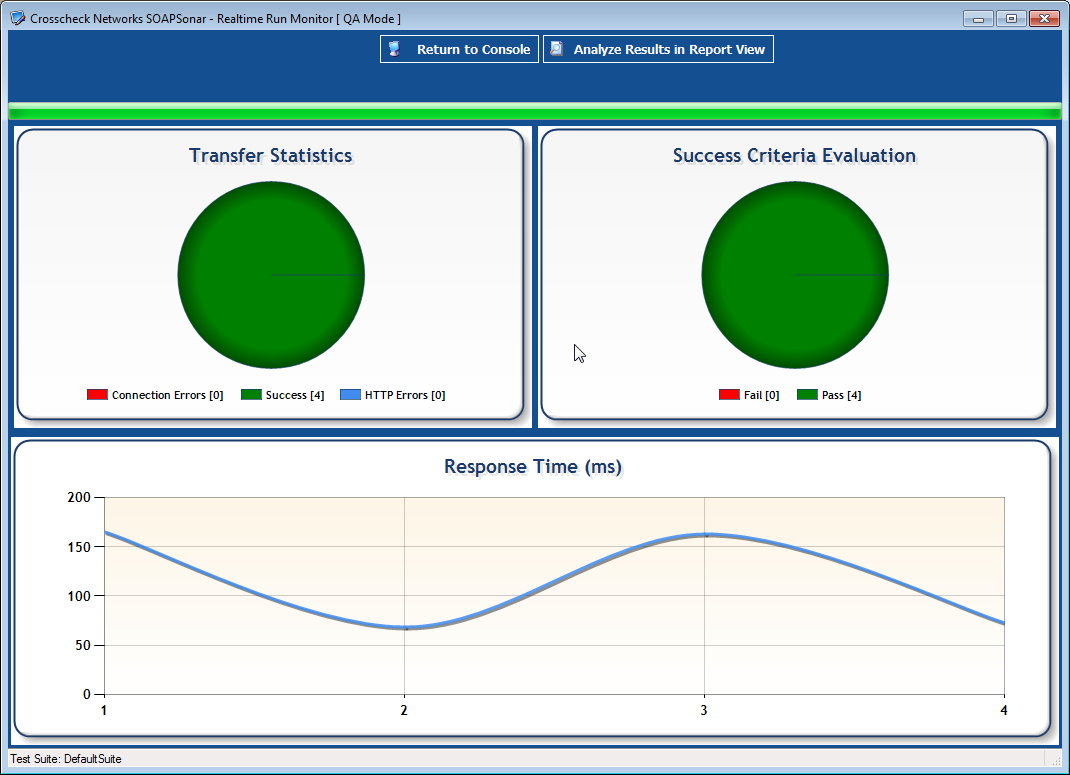
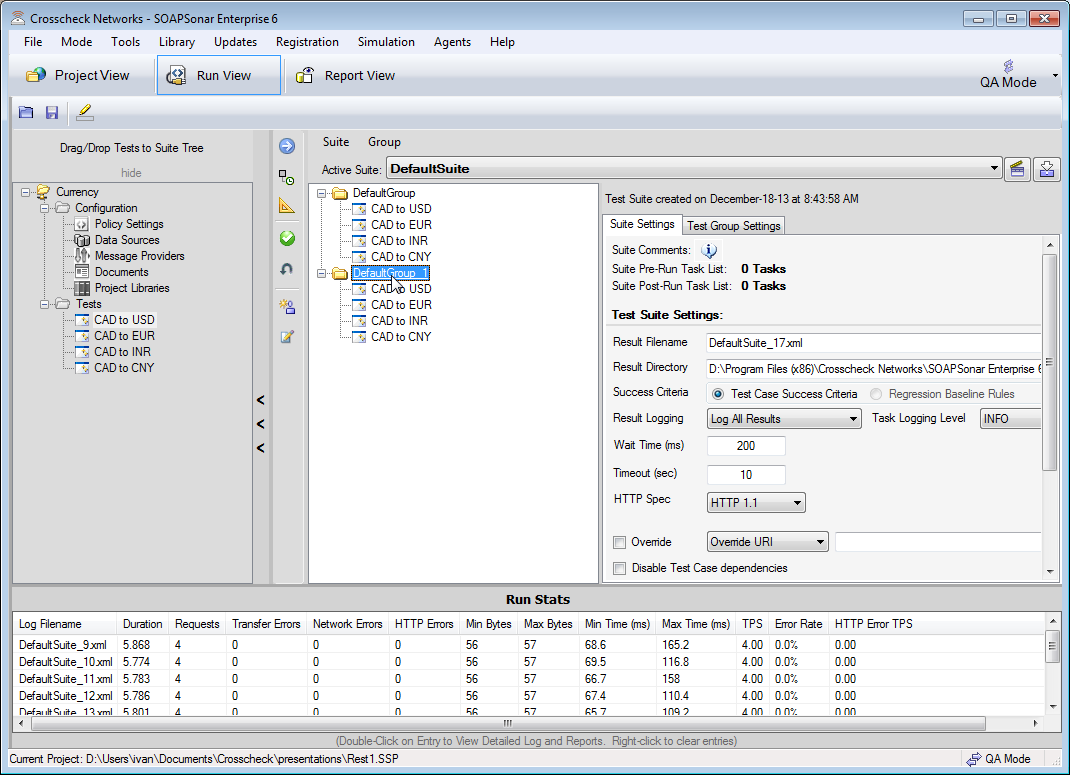
5. Now we have successfully created 4 manual test cases to test the API. But this could have just as easily been done through a browser. Test automation software, is there to save testers time and effort. Leaving SOAPSonar in QA mode on the right, switch from Project View to Run View and Drag all 4 test cases into DefaultGroup. Select the round green checkmark – Commit Settings and then the round blue Arrow – Run Suite. Under success Criteria Evaluation how many Pass do you see? You just ran all 4 test cases together.
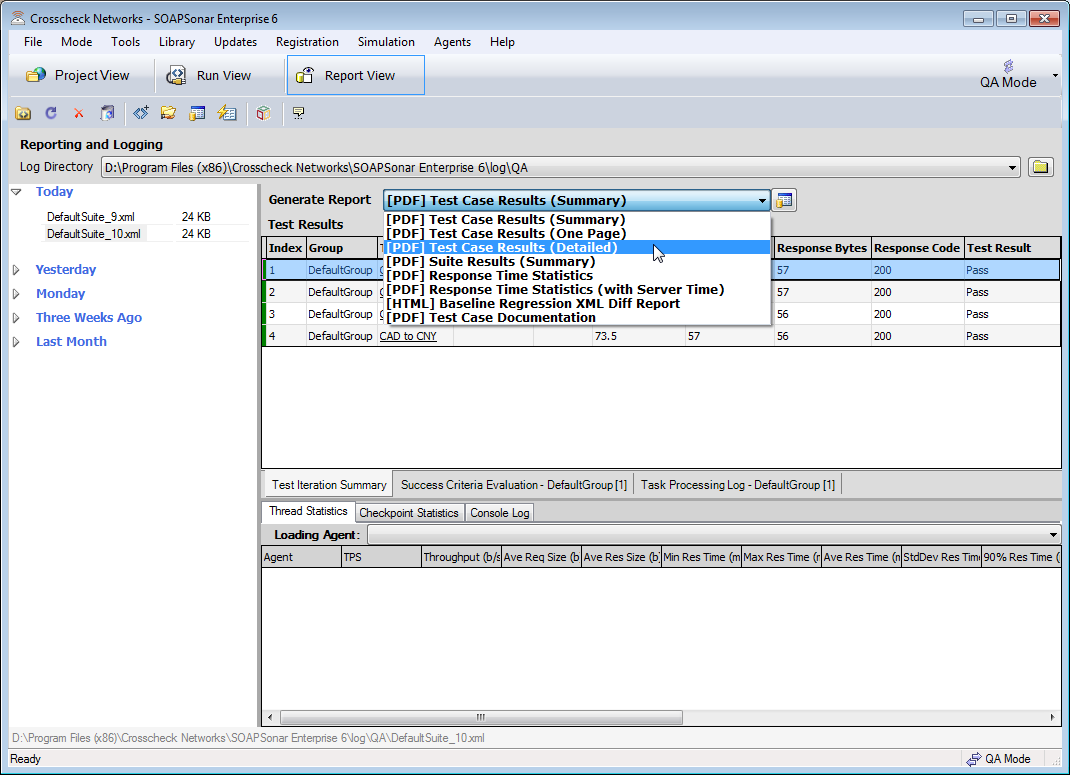
6. Select Analyze Results in Report View. Can you tell me what response time was for each test case, how large it was and was was the response code? Your boss walks up and asks you for a report on what you doing, select Generate Report and select detailed report for generation. Notice you can also export that report.
7. Go back to Run View. Right-click on DefaultGroup and select Clone. If you run the test case now, how many have you run?
For more tutorials on how to better make use of SOAPSonar take a look at our partners site at ST3PP’s for their series of Tutorials


